MIDTERM PROJECT PRESENTATION:
Olivia and I really struggled to get the non-tactile sensors to work which was the original plan. We faced issues with voltage as well as technical difficulties with the serial connection to the laptop which made making progress really frustrating. We also realized at one point that the microphone sensors we ordered weren’t correct so while we could make an led reactive, we couldn’t actually log any data from it which we couldn’t actually allow us to change code in p5.js.
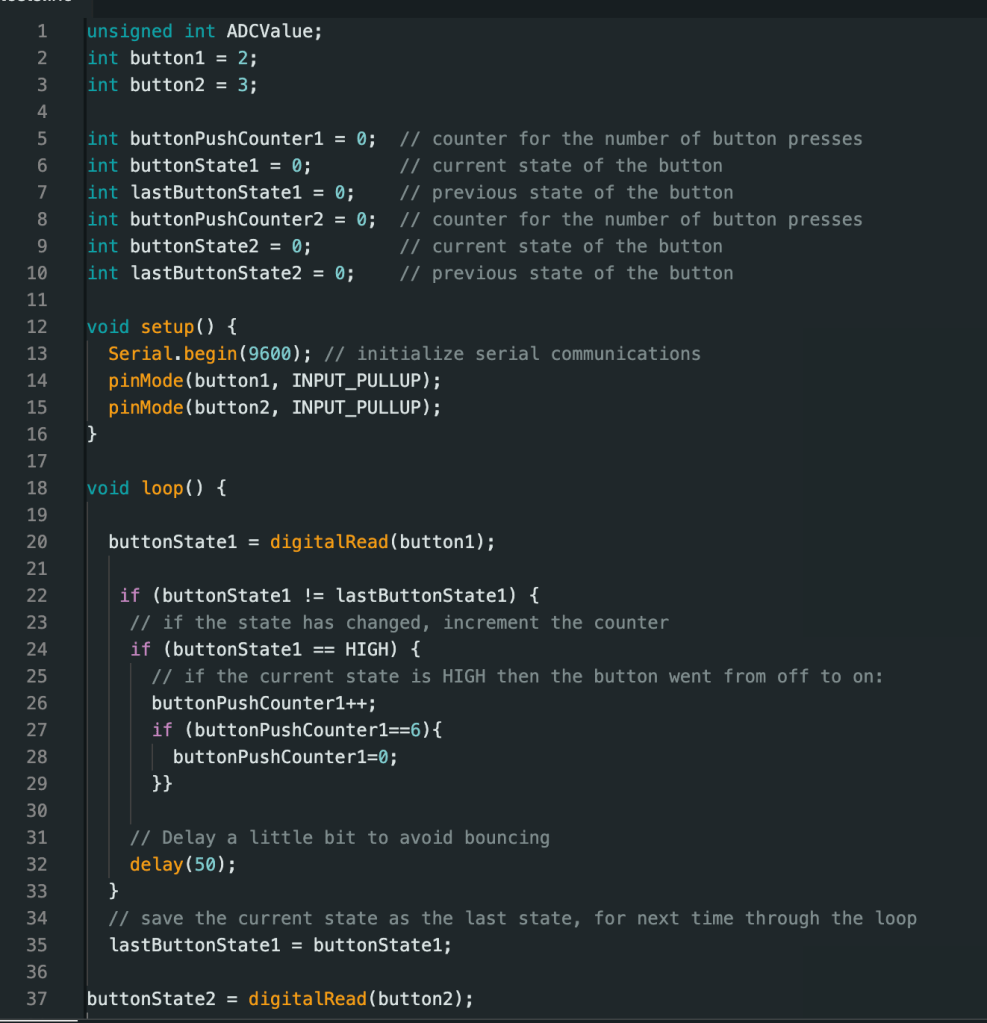
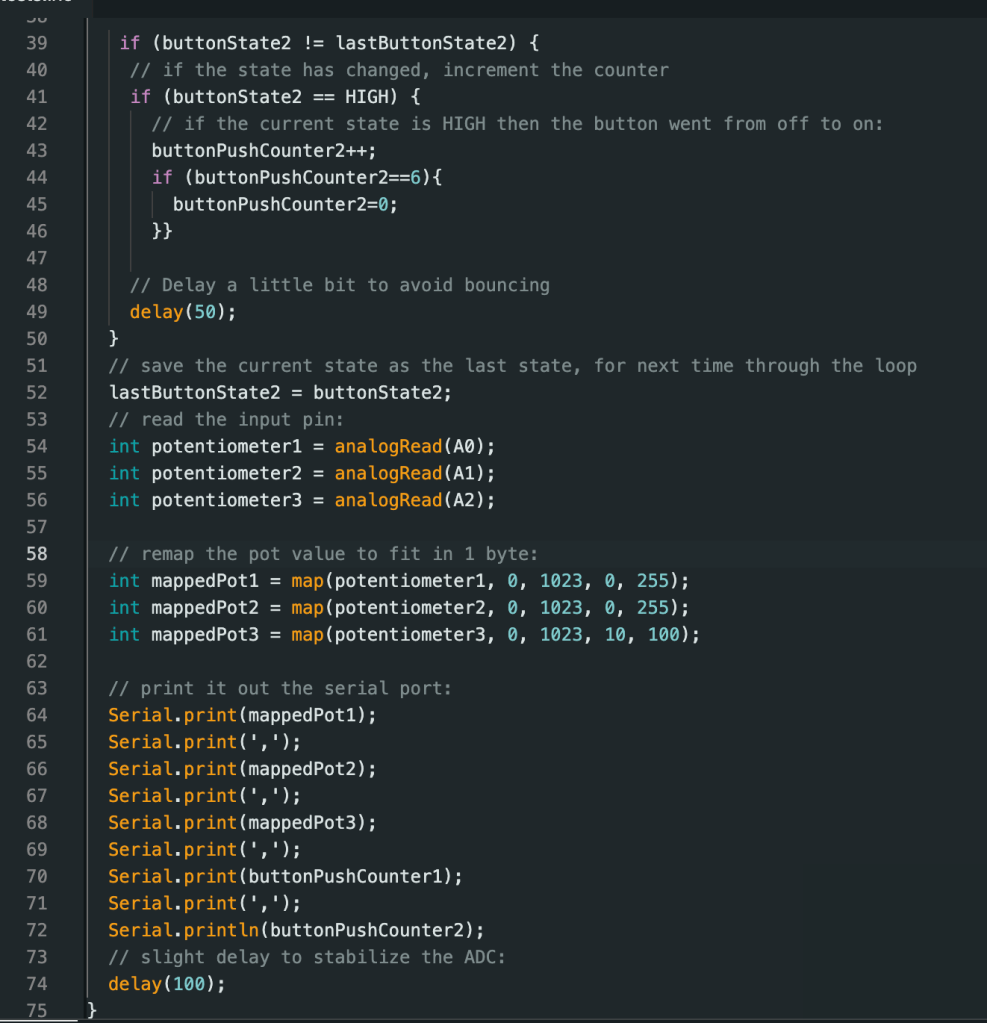
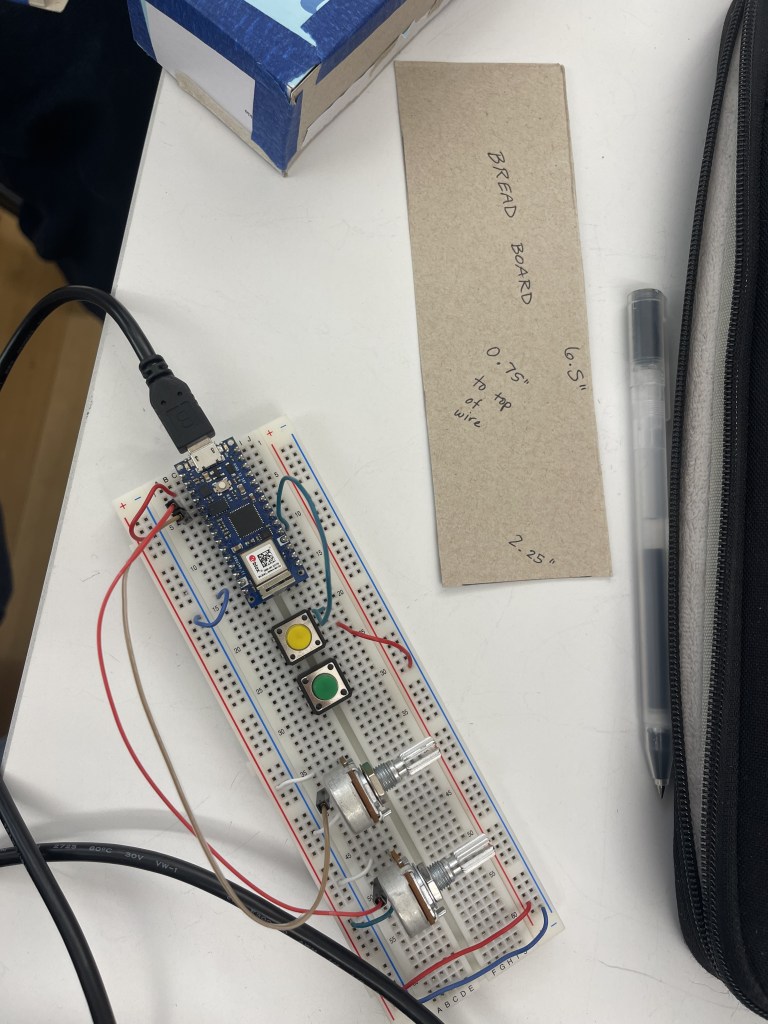
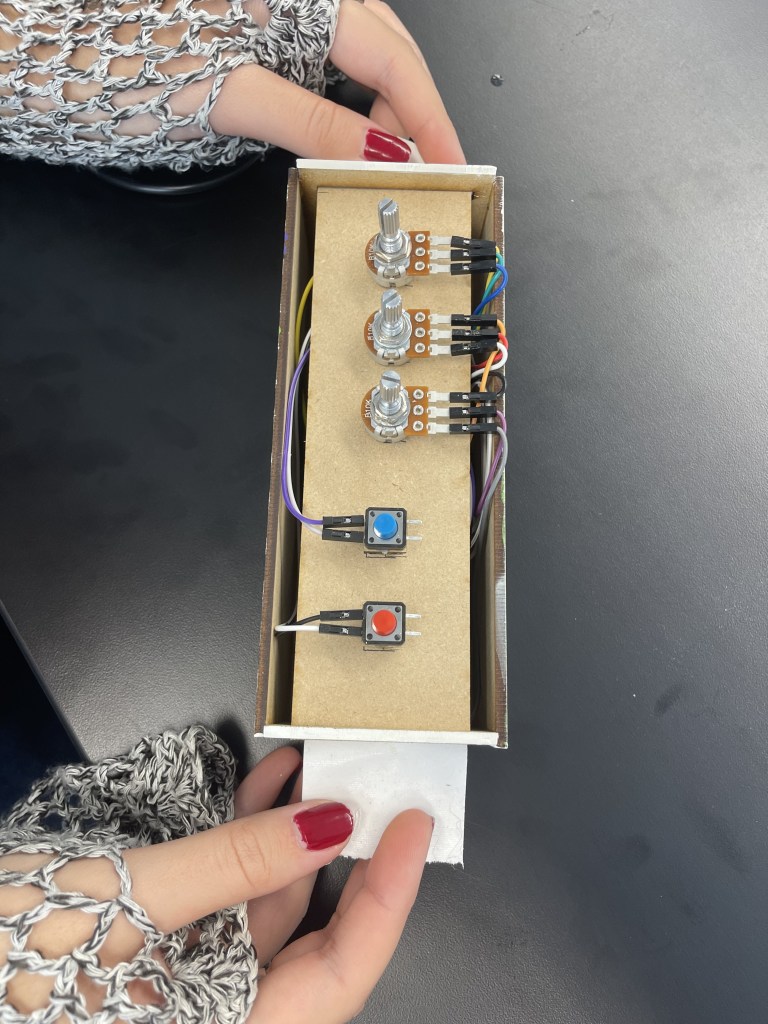
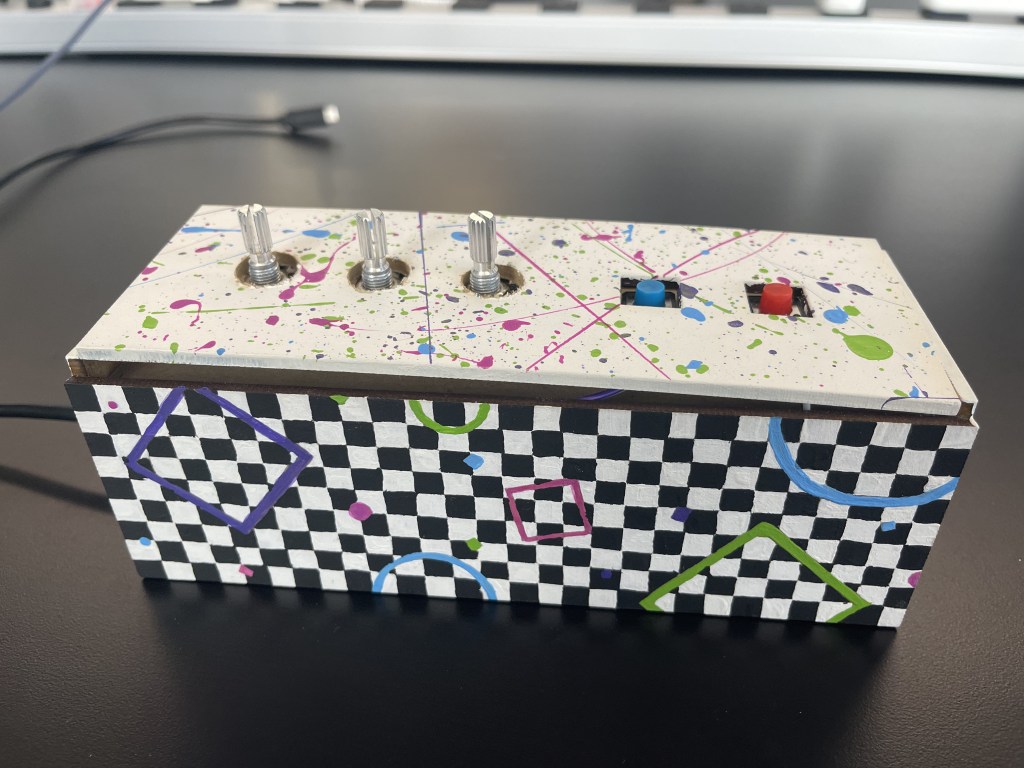
Because we both also had a pretty heavy workload with other midterms we had going on, we decided to scale back the idea slightly, since we also had to learn how to do the code for connecting Arduino to p5.js. In the end, we included a selection of buttons and potentiometers to create a small VJ set up.
While we originally wanted to run something local, we ended up just replicating labs that are upcoming later in the semester in order to connect the Arduino to p5.js. It took some time to learn the structure of how to set everything up and get the Arduino and p5.js code to communicate. Then we had to splice multiple variables so we could change more than one thing in the p5 sketch.
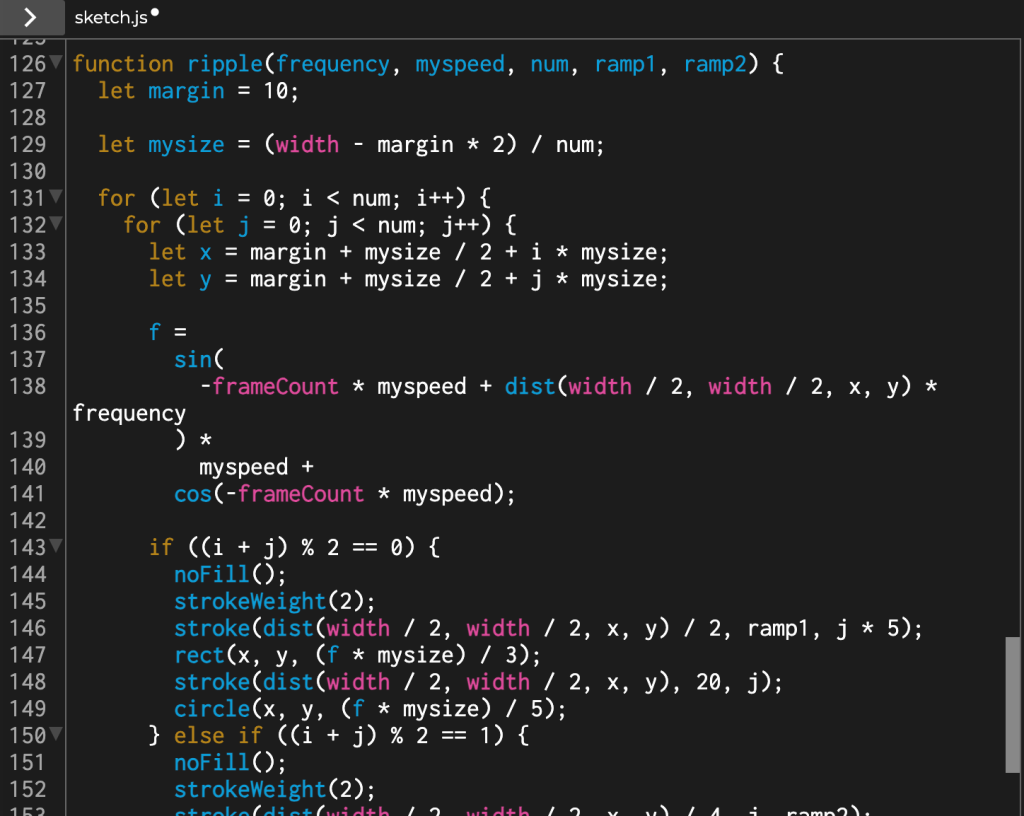
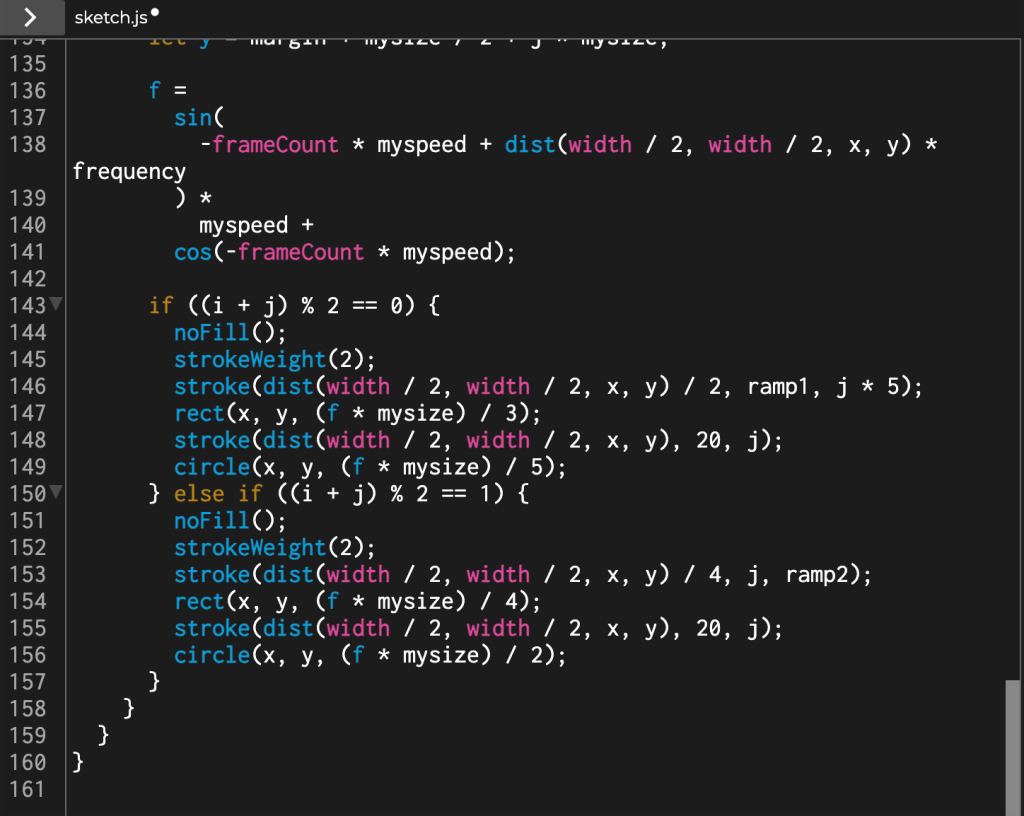
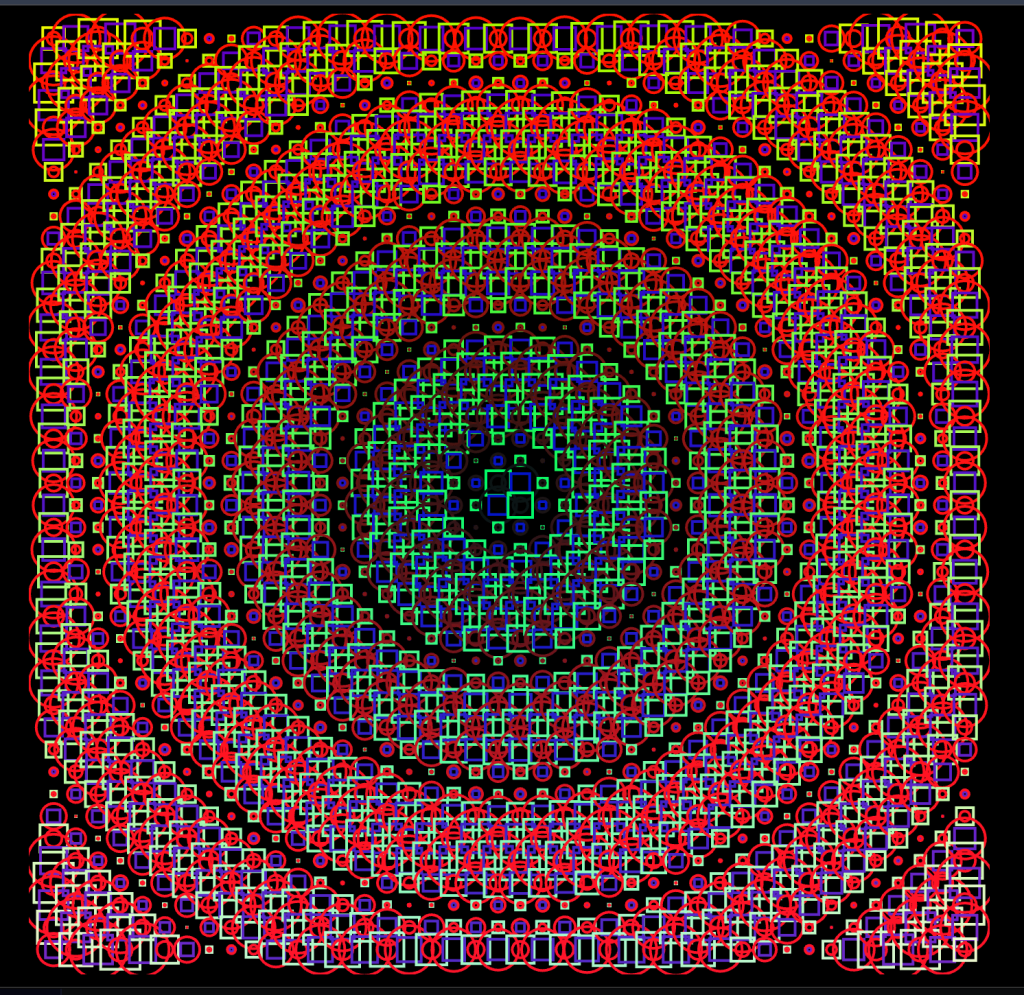
Olivia did a great job taking the lead with the reactive code and made something that was both really beautiful and worked really well with the values being changed by the various inputs.
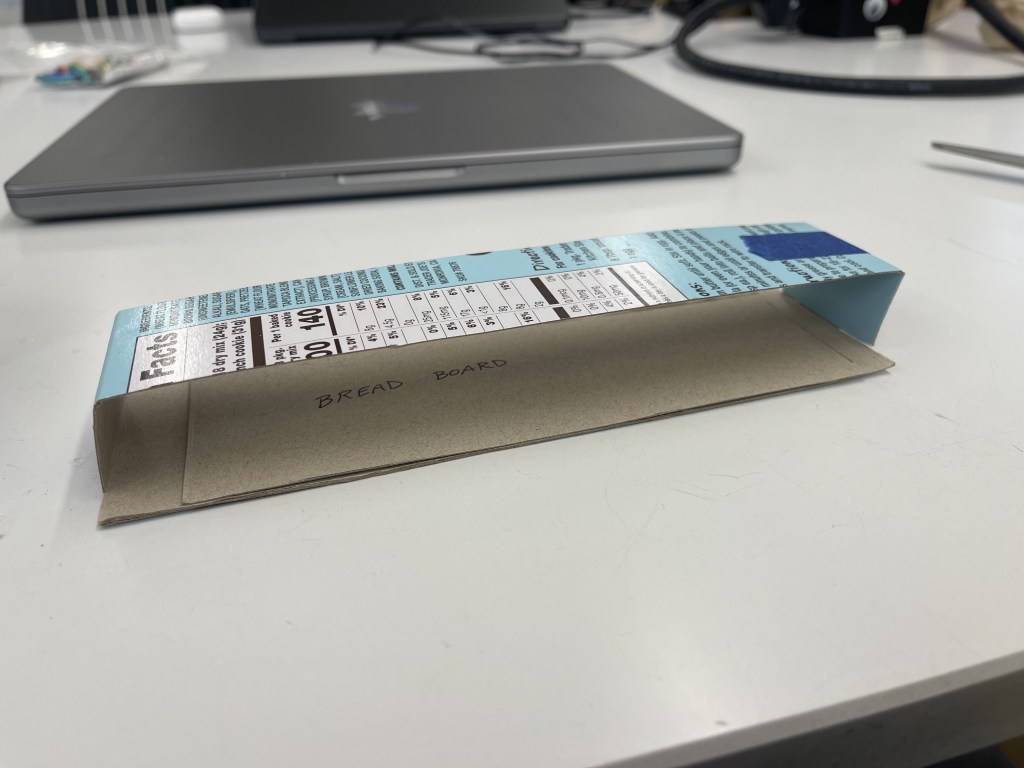
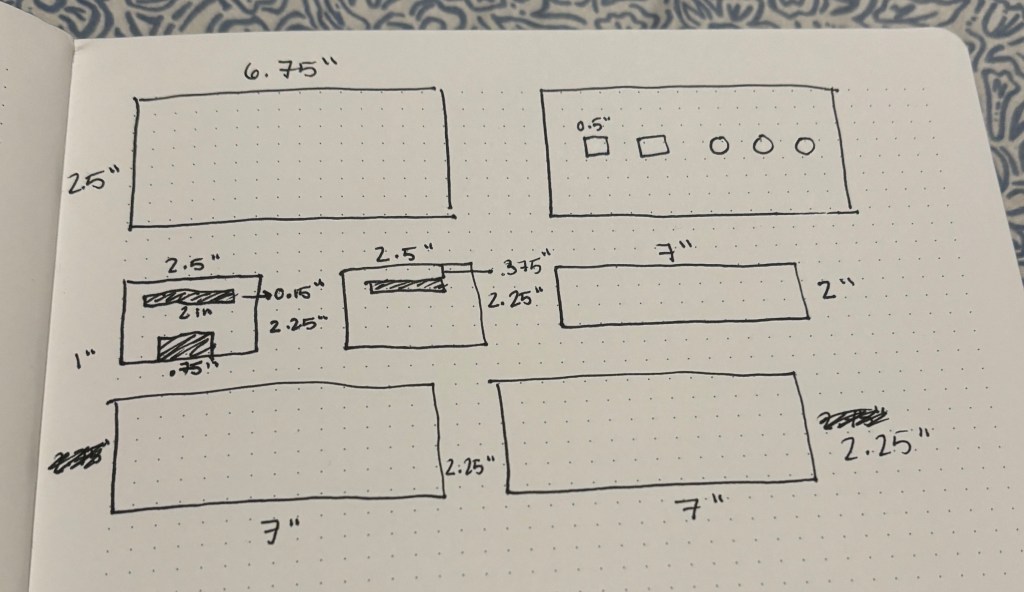
I took the lead on fabrication which was a little intimidating at first as I have not used a lot of the machinery in the shop yet. We had to pivot on our original fold out VJ set up and took some time to create a new little box. I quickly prototyped a sample idea out of cardboard so that we could see it in real time and talk about what the positives and drawbacks of the design was. After some discussing of the design and measuring of all the components of the project, I went to work creating a layout of the pattern we would need for the laser cutter in illustrator.

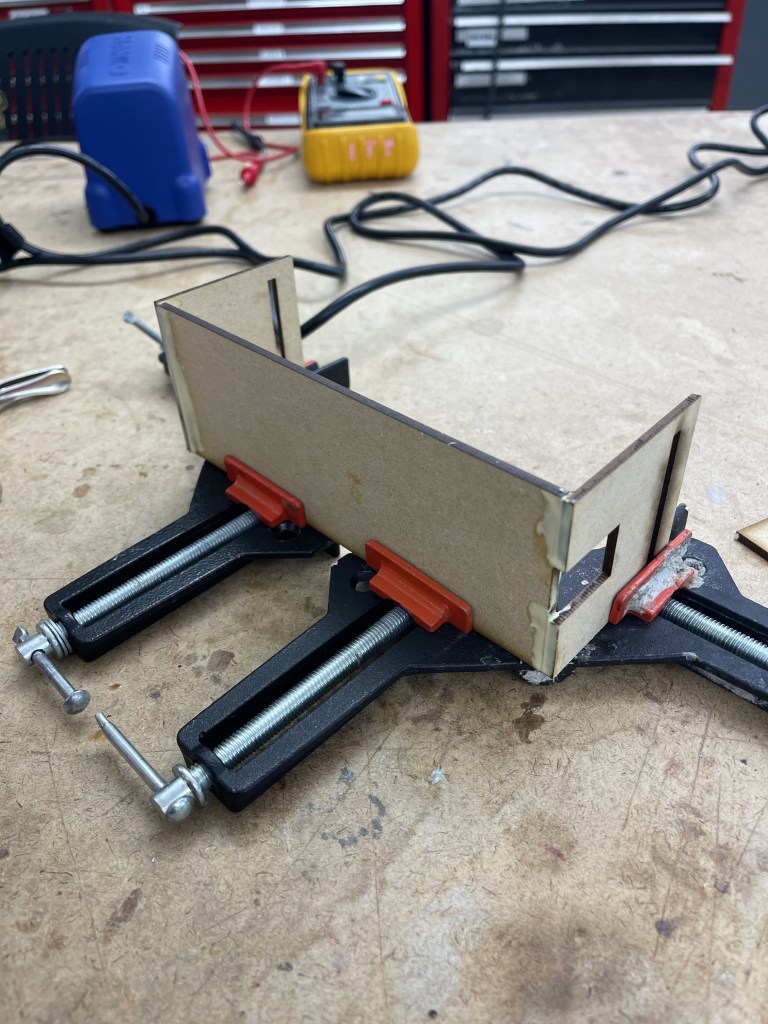
After a quick set up run through with the shop staff we got to start laser printing! We ended up having to go over the design because it didn’t cut through the entire way the first time. It was really fun to see something I designed on the computer start to turn into something physical and felt very satisfying.
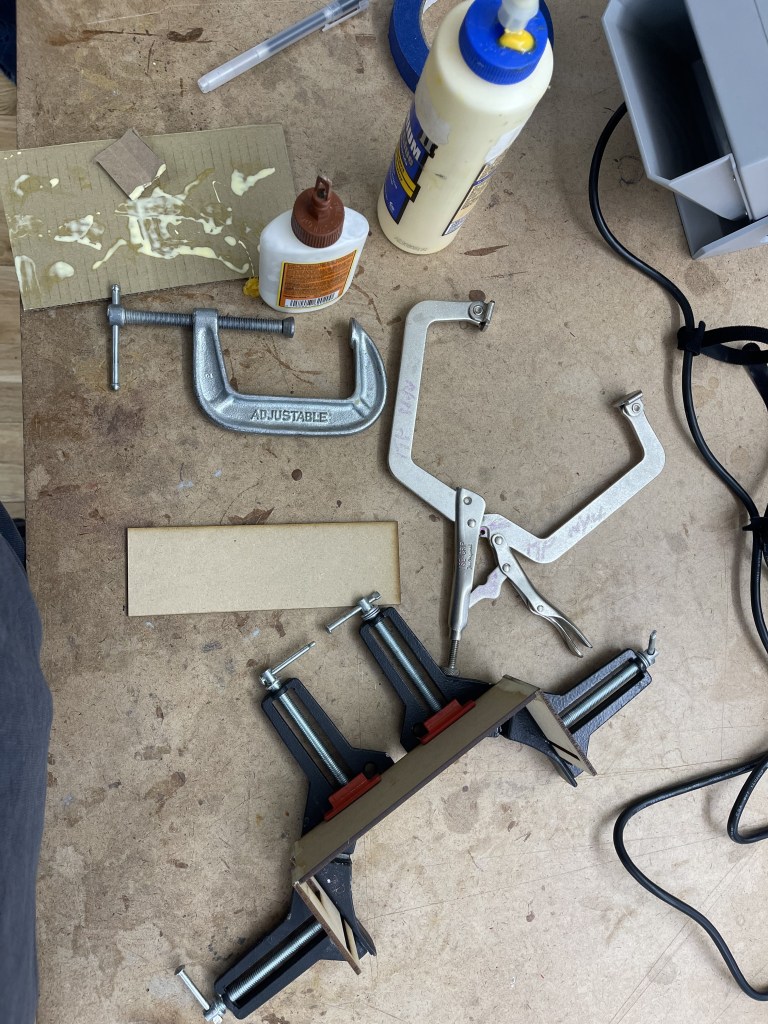
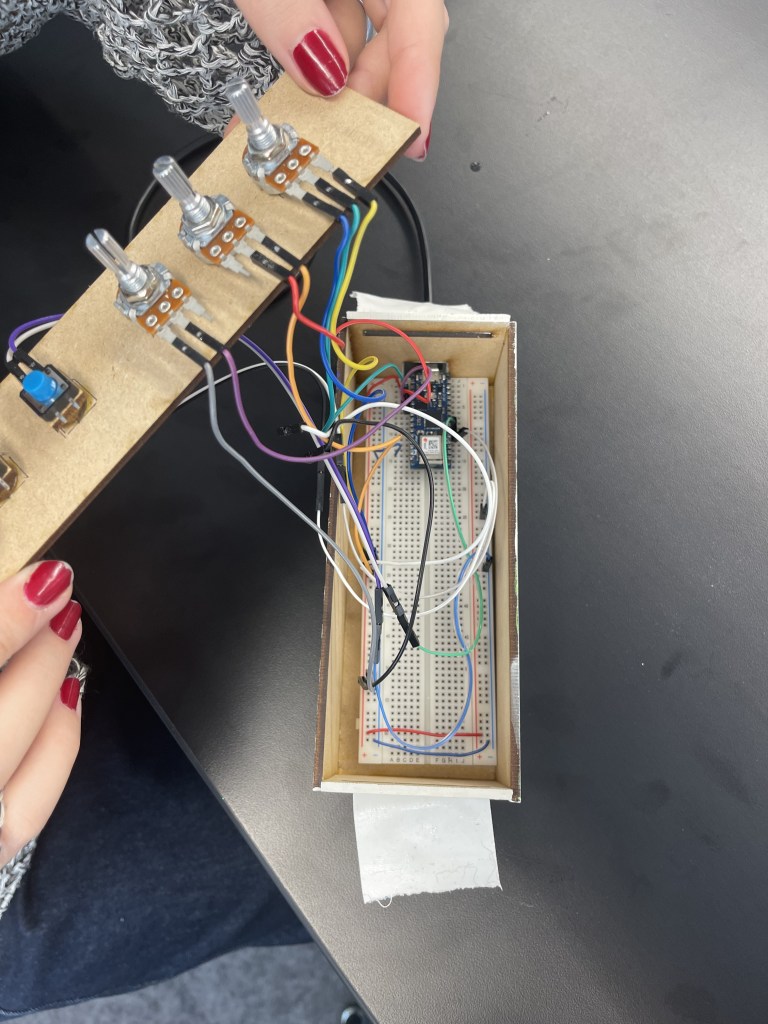
We then used wood glue and clamps to put together the box that would house the bread board as well as all the components. We were both afraid of wires coming undone or something disconnecting so we made a simple box that allowed a platform to slip into the sides of the box and have the buttons and potentiometers sit on top of the bread board without getting in the way.

Despite the project seeing a lot of issues to get to this final stage, I feel really satisfied with the end result and especially love the visual code that Olivia worked so hard on to create.
⌁ ࣪₊˚⊹ ˚₊ ࣪⌁

Leave a comment